Welcome to the fabulous world of helicopters!
You will train on the Robinson R22, two seat, light helicopter. The R22 has a conventional single main and tail rotor configuration. A well-proven 160 hp Lycoming piston engine used extensively worldwide, powers it. The R22 is a very reliable helicopter with an excellent safety record – which improved significantly with the fitting of governors some years ago.
Aim
The aim of this flight is to familiarize you with the controls and the sensation of flying the R22.
Principles
Rotors produce thrust (like large propellers). The main rotor blades provide a vertical component of thrust to overcome the aircraft weight, which enables the helicopter to be hovered. By inclining the rotor disc, a horizontal component of thrust enables the helicopter to be flown forward, backwards and sideways.
The tail rotor provides antitorque thrust, which prevents the fuselage from turning round opposite to the direction of rotation of the main rotor. Varying the thrust from the tail rotor enables the helicopter nose to be turned left and right. This movement is called yaw – remember – yaw.
Controls
The helicopter has four main pilot controls:
Cyclic stick
Collective lever
Tail rotor pedals
And throttle.
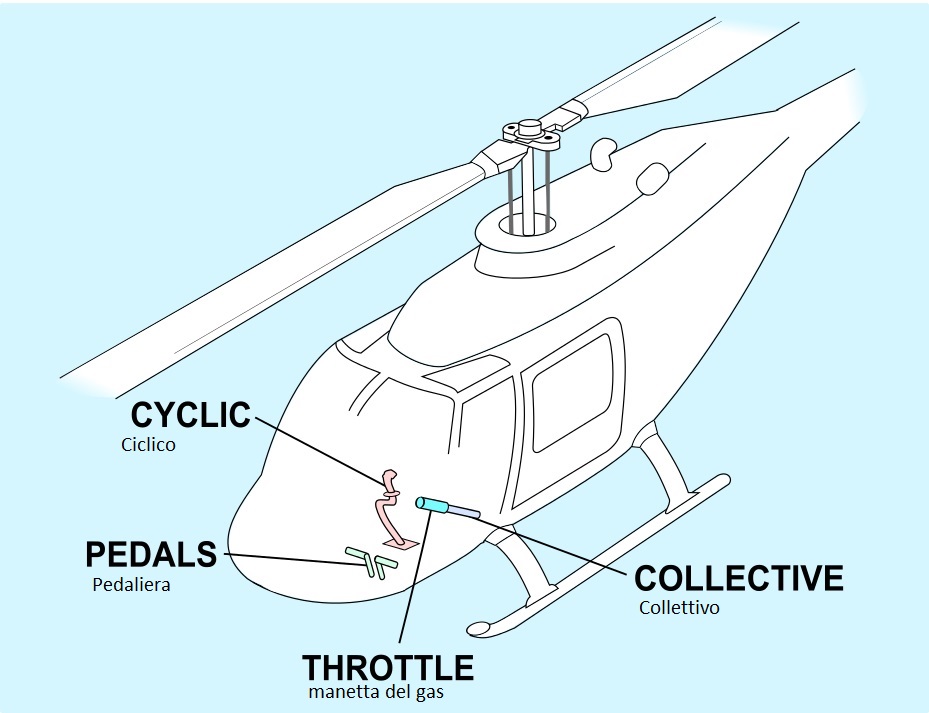
Comandi di volo – Flight Controls
Stick. The stick is held lightly in your right hand with your arm resting on your thigh. The stick requires light, delicate inputs to obtain the desired results. It is extremely sensitive and responsive to your touch. You should think control ‘pressures’ rather than control movements. Through its control mechanism the stick changes the pitch on the main rotor blades cyclically, ie, varying amounts on each blade for each revolution. This enables the rotor disc to be tilted and therefore the helicopter flown in the desired direction.
Forward stick – nose pitches down, speed increases
Back stick – nose pitches up, speed decreases = PITCH
Right stick – roll, bank and turn right
Left stick – roll, bank and turn left = ROLL
Lever. The lever is held lightly in your left hand. It is quite ‘stiff’ to move and holds its position through a friction mechanism. It only requires very small, smooth movements to achieve the desired results. Through its control mechanism the lever changes the pitch on the main rotor collectively, ie, the same amount on each blade. It also simultaneously controls the throttle butterfly and therefore the power output of the engine. As the lever is raised the butterfly opens and as the lever is lowered it closes.
Raising lever – pitch and power increases – helicopter climbs
Lowering lever – pitch and power decreases – helicopter descends
= HEIGHT
Pedals. The pedals are moved by feather light pressure/counter pressure from your tootsies! Through their control mechanism the pedals change the pitch on the tail rotor. On the R22 the tail rotor is a ‘pusher’. Thus, left pedal increases the pitch and the nose yaws left (tail is pushed to the right), while right pedal decreases the pitch and the nose yaws right (tail moves left). Think that through and get it clear in your mind. Left pedal = nose left, right pedal = nose right. In forward flight the pedals are used to balance the helicopter, ie, keep the fuselage aligned with the direction of flight. That requires the balance ball and ‘string’ to be central. Your instructor will point this out to you.
Left pedal – nose left
Right pedal – nose right = YAW
Throttle. A twist grip throttle is mounted on the end of the lever. The throttle controls the butterfly in the carburettor. It is used primarily for starting and shutting down the engine. A governor is fitted which is activated by a small switch on the top of the lever. The governor senses engine RPM changes and automatically moves the throttle in the correct direction to maintain RPM. Because of this you must not grip the throttle tightly. If you do you can override the governor, which can lead to RPM over or under speeds – which are not good!
Thumb ‘up’ – RPM increase (power increase)
Thumb ‘down’ – RPM decrease (power decrease)
Opposite to a motorbike throttle!
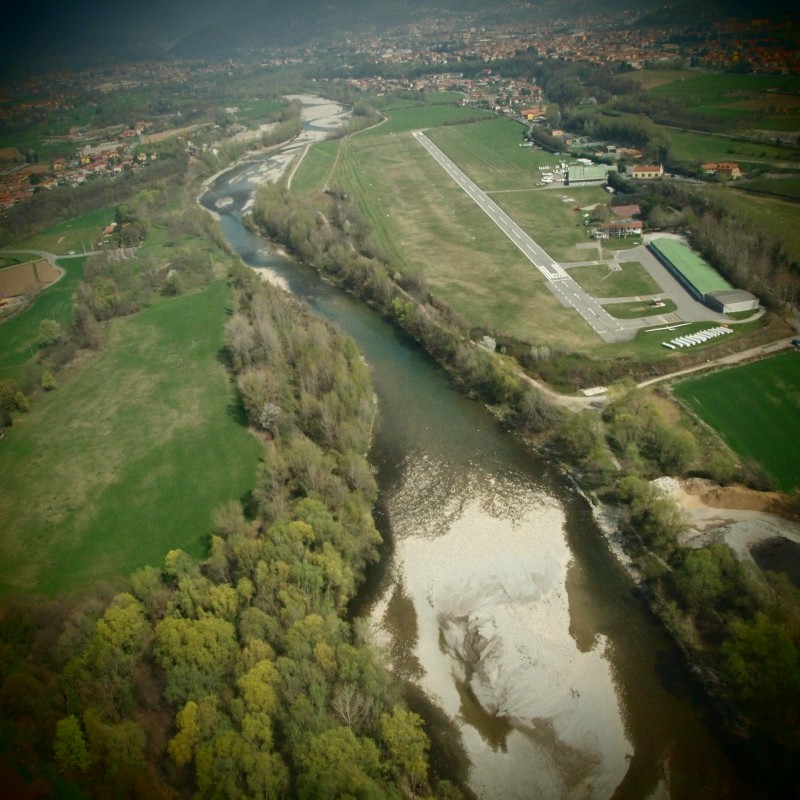
Valbrembo
The Flight
During your Introductory Flight, you will be shown how the controls work and then ‘given’ the controls one at a time. Once you have the idea of the delicate touch that’s required you will spend the time getting used to the ‘feel’ of the aircraft. At the end of the session your Instructor will probably demonstrate an autorotation and may show you a hover. Hovering is not taught until about the third hour.
Someone has to hold the controls all the time. So when you are given control the Instructor will tell you the procedure. If you want to relinquish control you must first tell the instructor who will then take over. At that stage you can take your hands/feet off the controls. Never let go of the controls until you are told to by your Instructor!
You may find that you are a bit t-e-n-s-e. Most people are in the early stages. Continually remind yourself to relax. Make sure your neck, shoulder and stomach muscles are ‘loose’, your arms and hands are relaxed and your feet are not locked onto the pedals like a limpet! You need to look out well ahead of the helicopter towards the horizon – not down at the ground or your feet. ‘Ride’ with the helicopter as you would a bike – don’t try to fight the sensations.
Remember you only need to apply the tiniest of inputs to the controls. You will not realise just how small until you try it. Helicopter piloting requires a very delicate touch – there is no place for harsh or jerky control movements.
Be s – m – o – o -t – h !
Your instructor will get you to ‘follow through’ on the controls before giving you a shot. If your instructor says in a very firm voice ‘Let go of the controls’ – that’s exactly what is meant. Some people during their first flight have ‘locked on’ to the controls to the extent that the instructor could not gain control of the helicopter. That is not healthy!
Did We Achieve The Aim?
From this first flight you should have learnt what the main controls are called and what they do, how they ‘feel’ and how minute are the inputs. You probably will not feel ‘at home’. It feels strange to most people for the first few hours. It starts to sink in after about three or four. Don’t expect miracles. The learning process is gradual. Your instructor will lead you through it slowly and gently. By all means ask questions but rest assured that all will be revealed in the fullness of time.